Come in, come in.. make yourself comfy… grab a cuppa & take a seat! I think we’re due a catch up, don’t you?
So finally I grab myself a hot minute to start work on an exciting feature, My Nail Space! If you’re anything like myself then I’m sure you’ll enjoy having a good nosey about any beauty or nail related interiors… and if you’re a nail tech in search of inspiration for your own little nail bubble then Waa Hoooo – you’ve come to the right place *excited air punch* as we’ll be regularly showcasing a new nail room for you to feast your eyes on! So whether you’re in the beginning stages of setting up your own space or simply love taking inspiration from others; this is most definitely the series for you! And what better way to start than by having a snoop around my very own work area? So let’s get started….
.
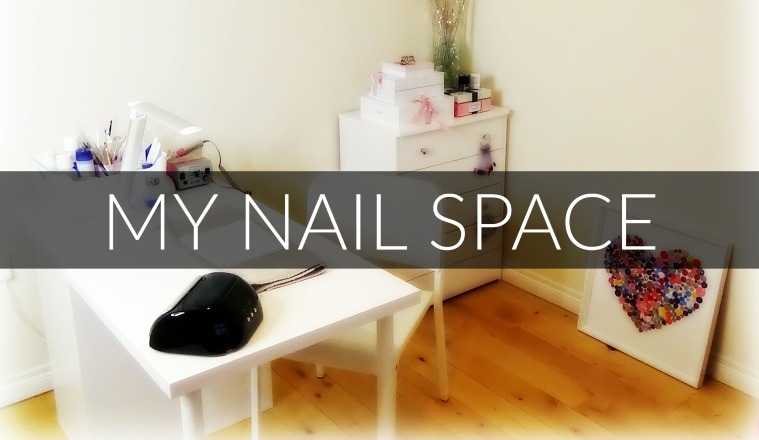
***THE AREA***
Okay… so it ain’t high-end, nor will it win any interior design awards, but I BLOOMING WELL LOVE IT! I’m blessed enough to have a good sized spare room with beautiful wooden floors (easy for sweeping up mountains of glitter and nail dust) – the seaside view is super pretty too. It’s bright, airy, cosy but yet has lots of great natural light from morning to afternoon and is relatively easy to keep clean. I love everything a blank canvas to add pops of colour into with ornamental trinkets. As I’ve only moved in (less than 3 months ago) I’m still in the process of hanging pictures and deciding what wall art I’d like – yep my to-do list never stops growing, one of these days I’ll FINALLY get it finished *dramatic eye roll*
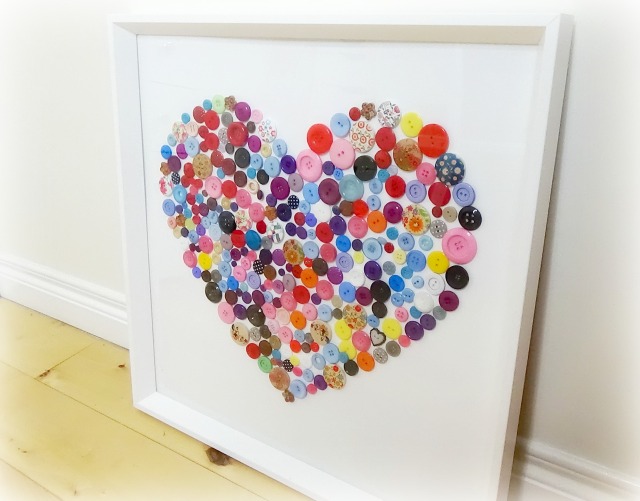
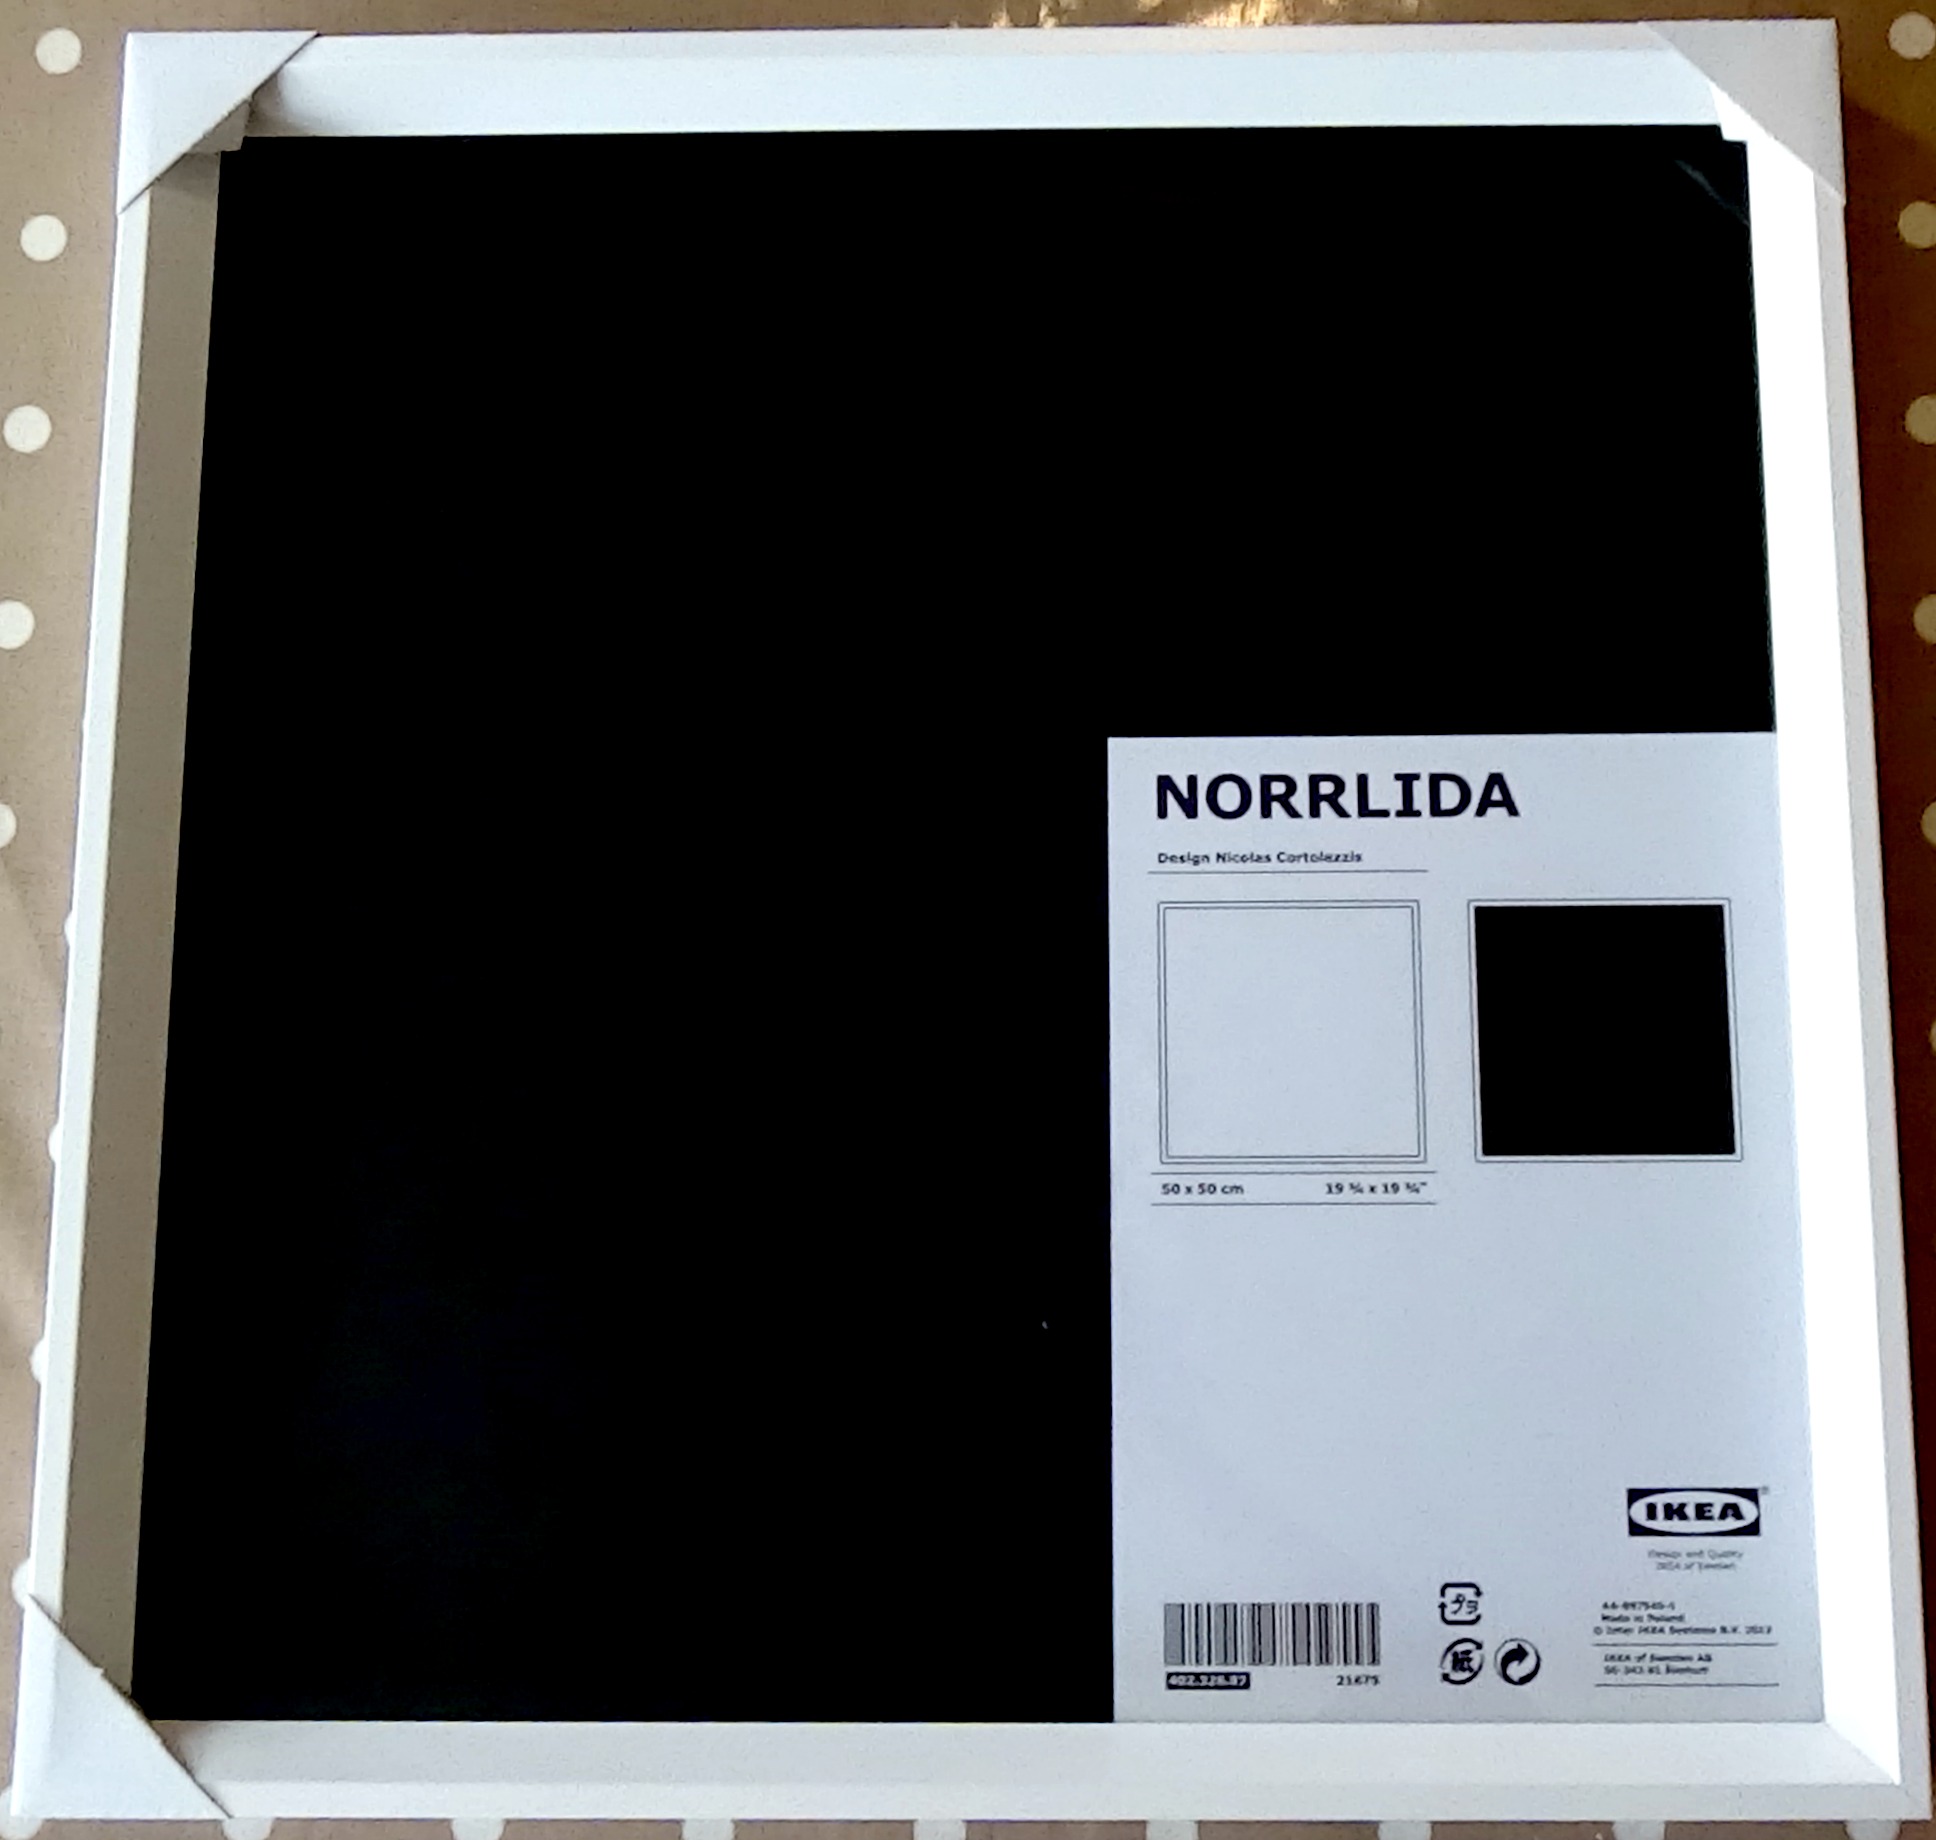
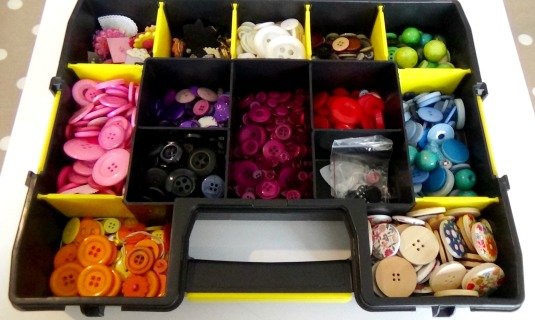
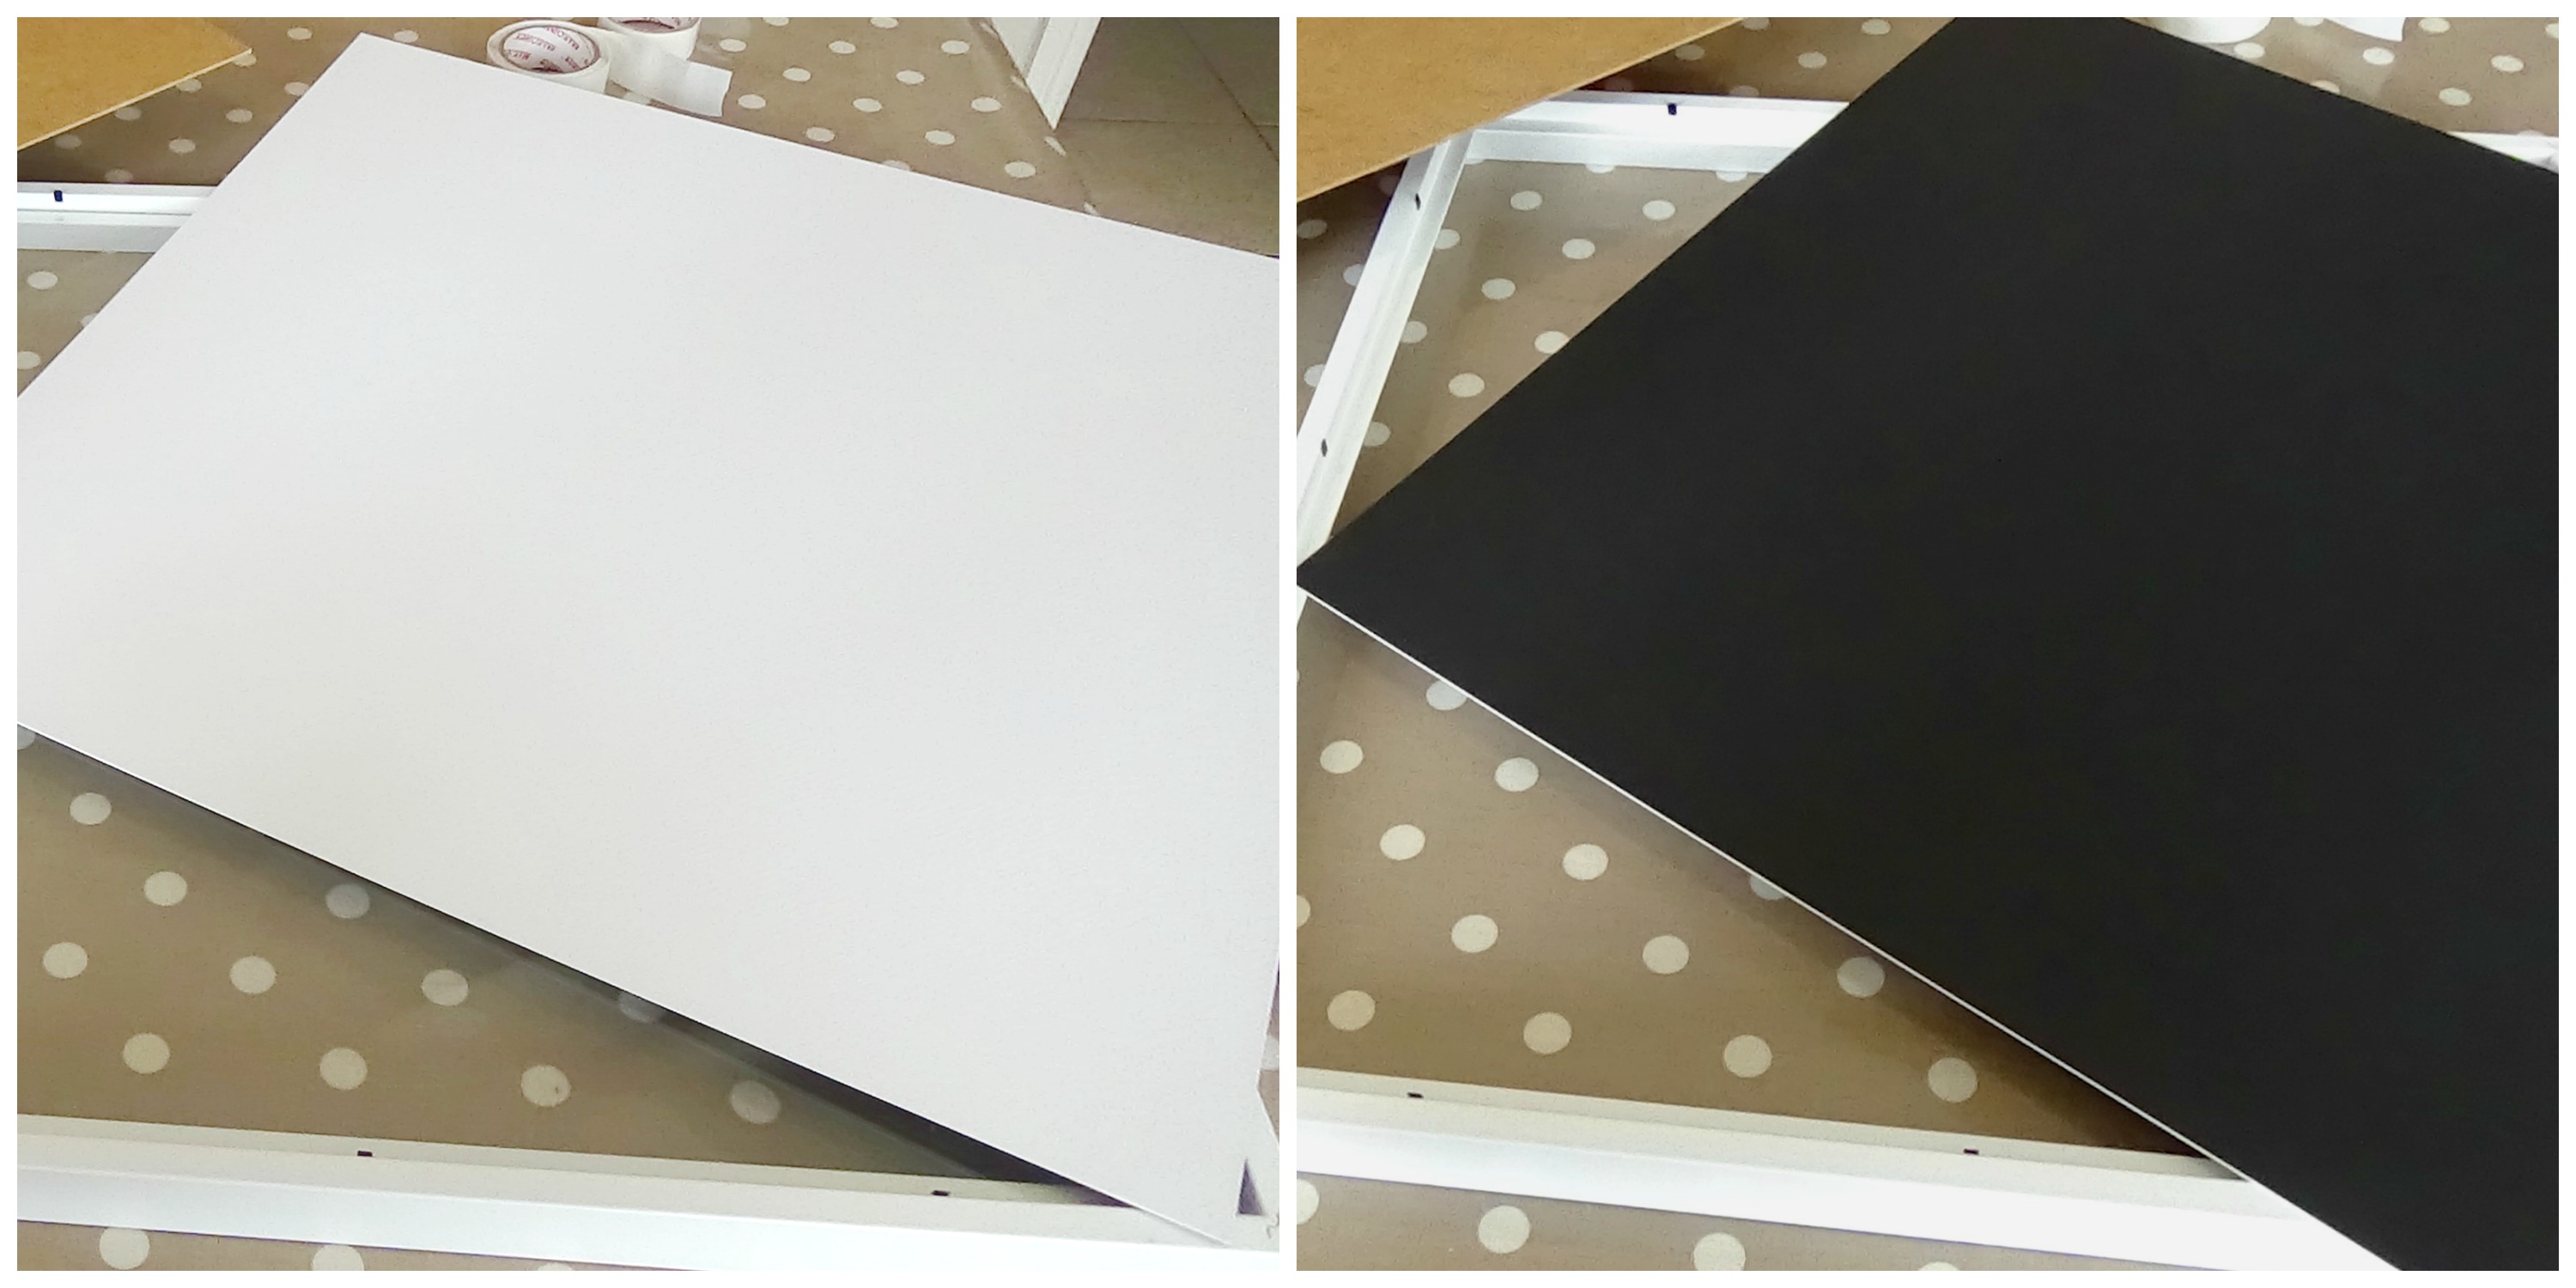
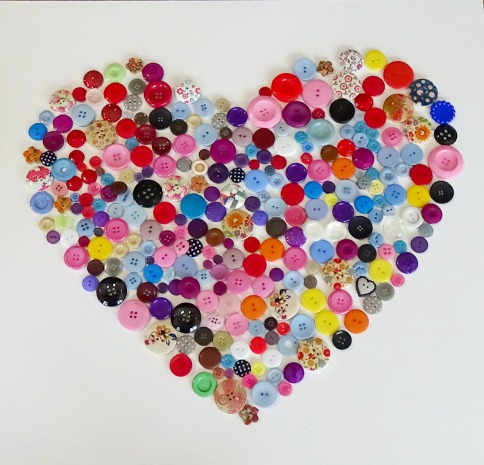
One of my absolute favourite pictures is this button frame. I used to make button bouquets when I owned my bridal suites so I’ve always got lots of super cute buttons lying around. When I rediscovered an unused Ikea frame I had stashed away I decided to get creative and make myself some fun & funky wall art. It’s totally unique to me and a great feature that adds so much colour. It was cheap & easy to make too – you really don’t have to spend a lot to make your space totally personalised to your tastes!
.
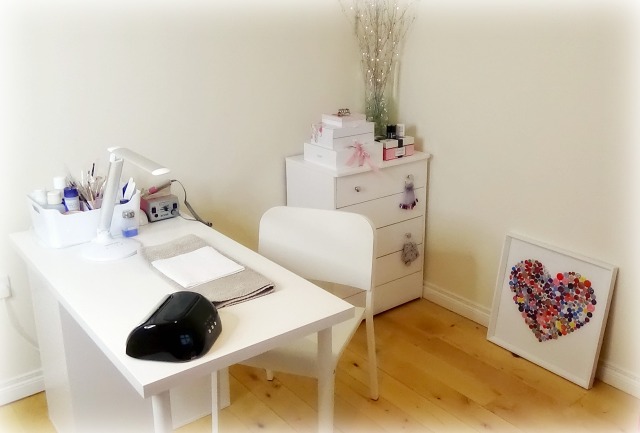
***THE DESK***
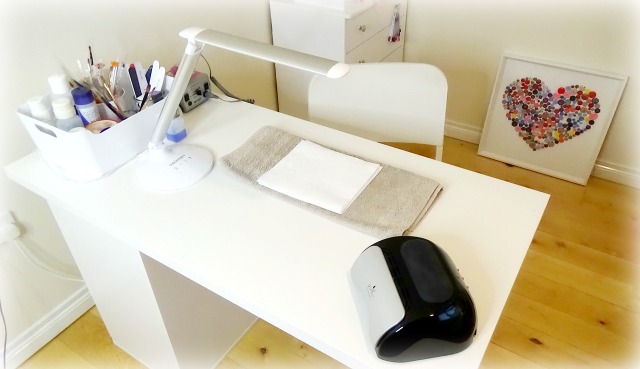
Anyone who knows me, knows I’m a total Ikea addict – their prices are just too darn good! And if you can’t already tell, I adore white – it’s clean, bright & goes with pretty much all my additional decor pieces. This desk was an absolute bargain… it’s the Adils Linnmon desk and costs £35! Yep, £35! Not bad eh? I also purchased an Alex 5 drawer set (£50) that sits perfectly underneath it, giving me lots of drawer space for all my nail essentials!

Unfortunately my exact chair doesn’t seem to be available any longer however if you’re looking for a similar design I’d recommend the Janinge chair (£40) or perhaps the Adde chair (£10) if you’re looking for something on a slightly smaller budget. What a bargain!
.
*** THE STORAGE***
Considering I already have a stock room for Nail Sugar I’m pretty blessed in terms of storage, however, my everyday nail essentials fit neatly into both the Alexa drawer set & a little chest of drawers I’ve had since I was a baby!
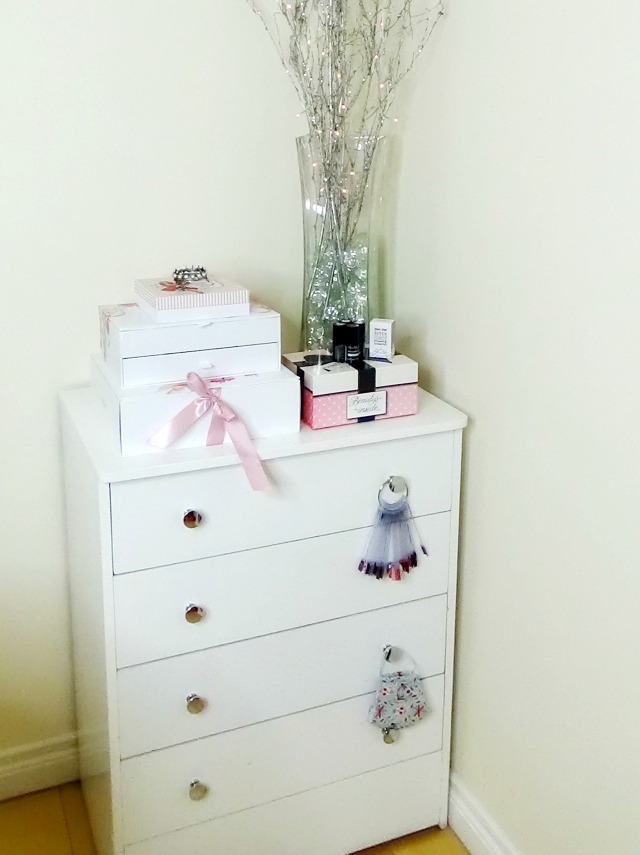
I’m ridiculously sentimental with stuff like that so I bought some furniture paint and gave it a total makeover. It’s kinda shabby chic looking, but again I love it. Not only is it useful, it has such a sentimental value to it – perfect for storing all my overflow/extras in such as lint-free wipes, photographic backing paper etc.


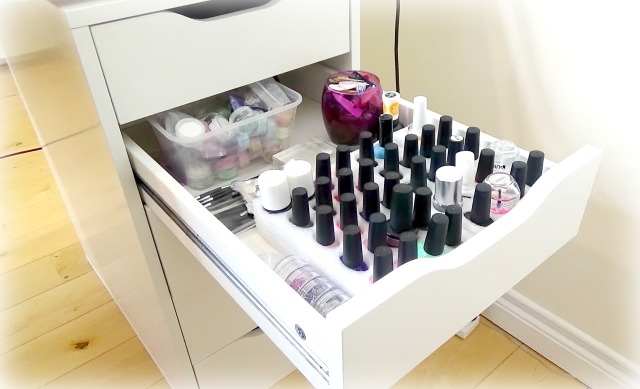
Whereas the Alex drawers stock everything I need to reach for when I’m in the process of doing nails such as tips, forms, primers, gel polishes, acrylic etc.
My next venture is to get a gorgeous display stand for all my jars of super sparkly Nail Sugar glitter – I’m thinking more a library of bling… sounds good, right? 😉
![]()
There you have it folks, a quick tour around My Nail Space. I would love to read your thoughts in the comments below so do say a quick howdy!
As always, thanks for stopping by 🙂
Cheerio Chums…

.
Ps: Don’t forget *Click Here* to pop over & join the Nail Sugar facebook group for lots of nail chatter, glitter news, inspiration and exciting giveaways!